How to Build a Concrete Countertop
Concrete Countertops: Beautiful, seamless, and tough
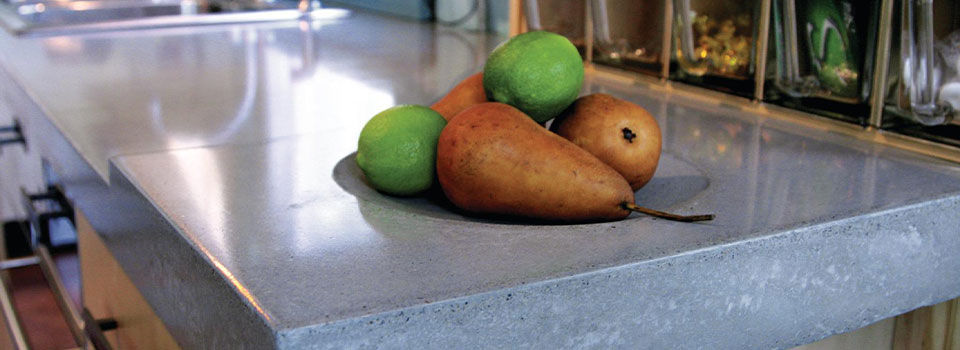
Concrete is durable, heat-resistant, and resists scratches and chipping, so why wouldn't you want that as a countertop? Concrete countertops are becoming more beautiful every day, with the innovation of concrete dyes and stains. The benefits are also there to last. It's easy to clean, avoids stains, and enjoy invisible seams, no grout needed. Follow these six easy steps, and create your dream countertop.
Tools Required
|
|
Materials
|
|
1. Form the Countertop Template
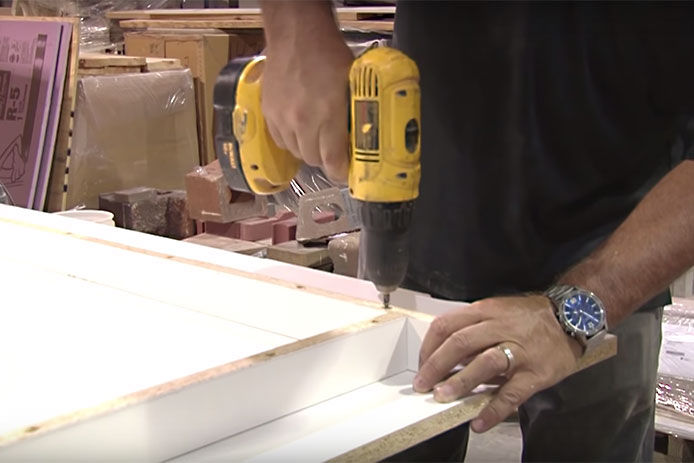
Construct the layout of your countertop using a circular saw to cut the ¾” melamine-coated particle board. Cut the side strips 1 ½”- 3” wide to your desired countertop thickness. Drill guide holes and attach the sides to the base cutout using 2” coarse wallboard screws. Use a carpenter’s square to ensure all of your corners are square. Once the sides are in place, drill guide holes every 6” on the top of the side pieces. Then drive deck screws through the guide holes into the base.
2. Make the Sink/Faucet Knockout
To make the sink knockout, start by stacking pieces of ¾” melamine-coated particle board to equal the depth of the countertop template. Use a jigsaw to cut out the shape of the sink, then use a belt sander to sand down the edges. You can make faucet knockouts with PVC pipes. Seal the edges of the sink knockout with a varnish and install it to the base using the deck screws. Run a thin bead of silicone caulk in all seams and smooth with your fingertip.
3. Add Reinforcements
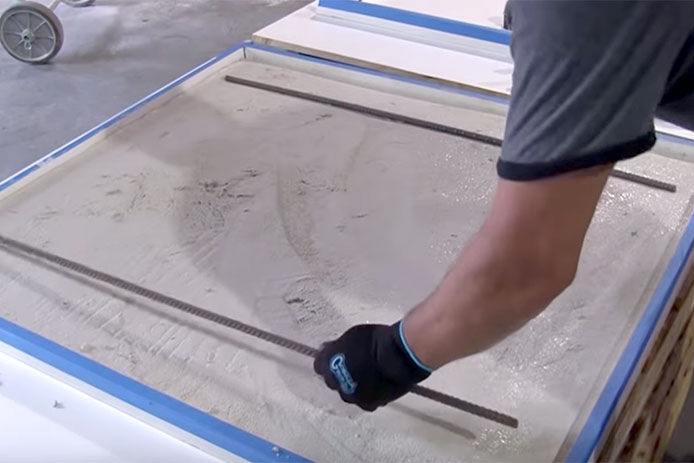
Cut a piece of welded wire 2” less than the interior dimension, cutting out the sink and faucet knockouts. Suspend the wire mesh by attaching it to the top of the sides with screws. If your counter top is 2” thick or more than 4’ in length, use a # 3 rebar for additional reinforcement.
4. Mix the Concrete
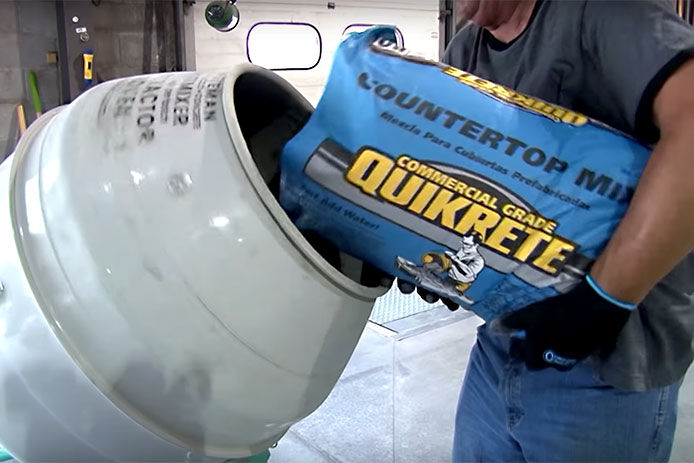
Mix countertop mix according to the manufacturer’s directions. Mix for a minimum of 5 minutes until it has a flowable consistency. Now is the time to add your cement color, first mix the color with water then mix into your cement mixture.
5. Pour the Concrete
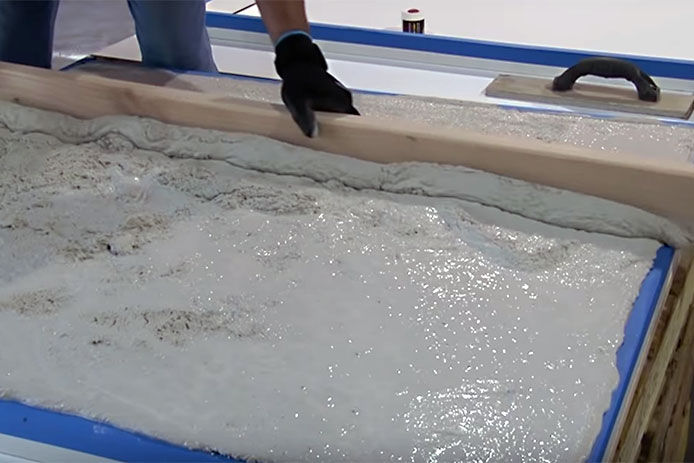
Fill the countertop template with the mixed concrete. Pay close attention to the corners, making sure they are completely filled and consolidated. Overfill the template slightly, striking off the excess with a 2 x 4 in a sawing motion. Vibrate the base by striking it with a rubber mallet. Snip the welded wire mesh ties and embed the cut end into the concrete. Smooth out the surface using a metal screeding tool and cover the countertop with plastic for at least 18 hours.
6. Add the Finishing Touches
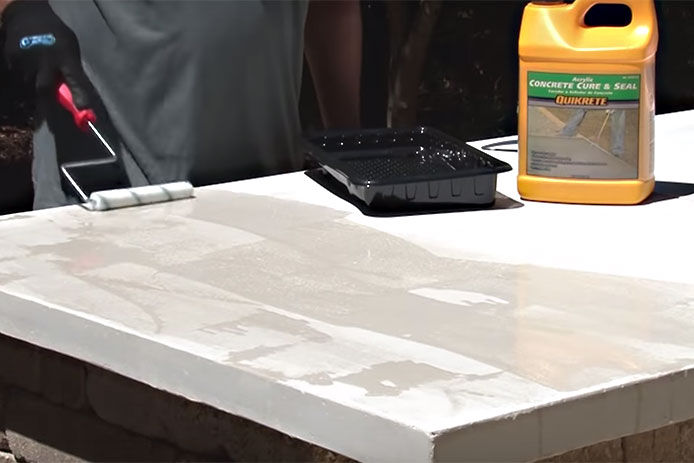
After 18 hours remove the plastic covering and unscrew the sides from the base. The concrete is still fragile so make sure not to pry against it. Once the sides and base template are removed, flip over the countertop to expose the finished surface. Use fine grit sandpaper to remove any imperfections and smooth the edges. Then clean the surface and seal it with a acrylic concrete sealer. Apply several thin layers using even brush strokes. Let that dry according to the manufacturer’s directions.
After the sealer has time to dry, place the countertop in place. You can anchor the counter, but there is no real need to, considering the weight of the concrete. You can also get creative with your color choices, making swirls and even faux finishes with the concrete, allowing you to enjoy your countertops for years to come.
While do-it-yourself projects can be fun and fulfilling, there is always a potential for personal injury or property damage. We strongly suggest that any project beyond your abilities be left to licensed professionals such as electricians, plumbers, and carpenters. Any action you take upon the information on this website is strictly at your own risk, and we assume no responsibility or liability for the contents of this article.