How to Resurface Your Concrete Driveway

Concrete driveways are ideal for keeping your parking areas from becoming muddy and messy. They eliminate the constant need to bring in gravel, but they do eventually need resurfacing. Routine cleaning and sealing will keep the concrete looking good for years. But over time, UV damage and wear and tear from your vehicle will lead to surface cracking and pitting. Resurfacing is the best way to add a new, fresh surface to the driveway for a brand-new look without the work and cost of a total replacement. However, the driveway does need to be in relatively good shape for this process to work. When you’re ready to resurface your driveway to cover stains, cracks, and pitting, follow this process for good results.
Pressure Wash the Surface

Pressure washing is the first step in resurfacing a concrete driveway, patio, or walkway. Using a high-pressure stream of water not only removes dirt and debris that would interfere with a tight bond to the new surface but also helps knock loose any chipped concrete. Loose and damaged concrete must be removed and the affected areas patched before the new surface is applied. Otherwise, the damage from below will telegraph to the top. Remove any debris like leaves, grass growing around the edges, and caulk or other flexible sealants. In most cases, you’ll want to apply the resurfacing compound while the concrete is still wet from pressure washing but after you brush off any standing water.
Apply Patching Compound to Damaged Areas

With a mallet and chisel, clean up the rough edges of any holes, pitting, or cracks that are larger than half an inch across. Use a concrete driveway patching compound to fill in these areas, then wait the recommended curing time before applying and resurfacing products. Patching the driveway may be enough to stop the damage from spreading, but it won’t protect the surface on its own. So unless you only have a handful of limited patching to do, you’ll likely want to continue to the resurfacing step next.
Mix the Resurfacing Compound

Resurfacing compound isn’t like concrete or even cement. According to most manufacturers, it should be much thinner when thoroughly mixed with water — close to a syrup consistency. That allows for easy pouring and spreading with a smooth finish. Trying to mix it as thickly as cement or mortar will result in an unattractive finish or a poor bond. Lumps in this material will also lead to issues, so grab a power drill and attach a mixing paddle. First, add the required amount of water to a five-gallon bucket. It’s around three quarts for most mixtures. Have a helper pour the bag of resurfacing compound into the bucket while you operate the mixing paddle for the best results. Mix for at least five minutes, checking to see when it becomes lump-free and smooth. Add more water to thin it if necessary or more powder for thickening.
Apply the New Surface Quickly and in Small Sections

When you have one batch of resurfacing compound mixed to the right consistency, pour it onto a section of the clean and prepared concrete driveway. Work with small batches of one bag of the mix at a time to ensure you can spread and smooth it before it begins to set. At 75 degrees, most mixtures only remain workable for 30 minutes. Hotter temperatures can lower that window to below 20 minutes. Aim to cover about 10 feet by 10 feet at a time, feathering the edges so that they’re easy to disguise where you’ve stopped working and begun again later. Pour strips of the resurfacing compound onto the area about 1 foot apart, then work the material over the concrete with a long-handled squeegee. Rub back and forth to adhere the new material to the existing surface and to smooth it out. Continue working if you like by mixing up another batch.
Brush in a Slip-resistant Finish (Optional)

If you want to give the driveway a slip-resistant textured finish, you’ll need to brush each section before moving on to the next one. The resurfacing material needs to set for at least 5 minutes after spreading before brushing, or the effect won’t take on the surface. Use any old bristled brush to stroke a steady pattern into the surface, working in one direction each time to keep it uniform. Then let it cure as usual.
Let the Surface Cure

Once you’ve spread resurfacing compound over the entire driveway and added any finishing touches, all that’s left to do is wait. Curing can take as little as 24 hours, but it’s usually best to wait 48 hours before driving on the surface. You can walk on it after just six hours. Start misting it with your garden hose every few hours during the day to ensure it stays moist as it cures.
Resurfacing your driveway can be done within a weekend with motivation and the help of one person for the mixing stage at least. So instead of shaking your head every time you step on your cracked or worn driveway, make it look brand-new with a quick resurface.
While do-it-yourself projects can be fun and fulfilling, there is always a potential for personal injury or property damage. We strongly suggest that any project beyond your abilities be left to licensed professionals such as electricians, plumbers, and carpenters. Any action you take upon the information on this website is strictly at your own risk, and we assume no responsibility or liability for the contents of this article.
Related Articles

How To Install A Wooden Privacy Fence
Wondering how to install a wooden privacy fence? Here’s what you need to know to safely install a privacy fence. Find everything you need to get started.
Learn more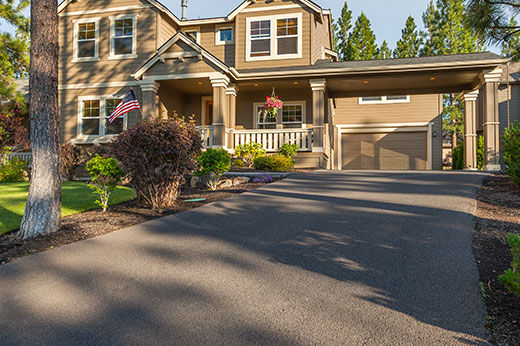
How to Resurface an Asphalt Driveway: Step by Step
Update your home's curb appeal and learn to repair cracks, potholes, and uneven areas
Learn more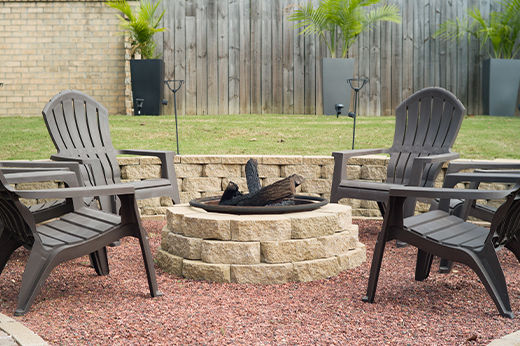
How to Build a Fire Pit
A simple and affordable outdoor DIY project with a step-by-step guide
Learn more
Backyard Privacy Ideas
Enjoy some alone time in the comfort of your own backyard with these simple tips
Learn more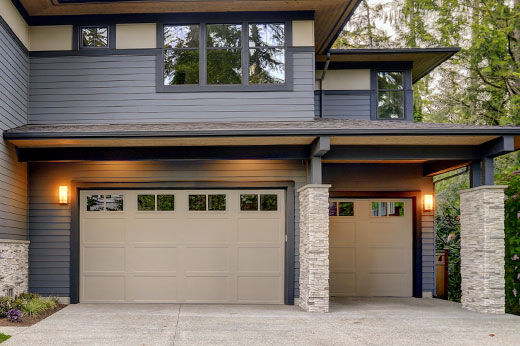
Garage Door Maintenance to Keep It in Tip-top Shape
Six easy and cost-effective ways to keep your garage safe and prevent damage
Learn more